.png)

By using our website, you agree to the use of cookies as described in our Cookie Policy
a
Rss Feed
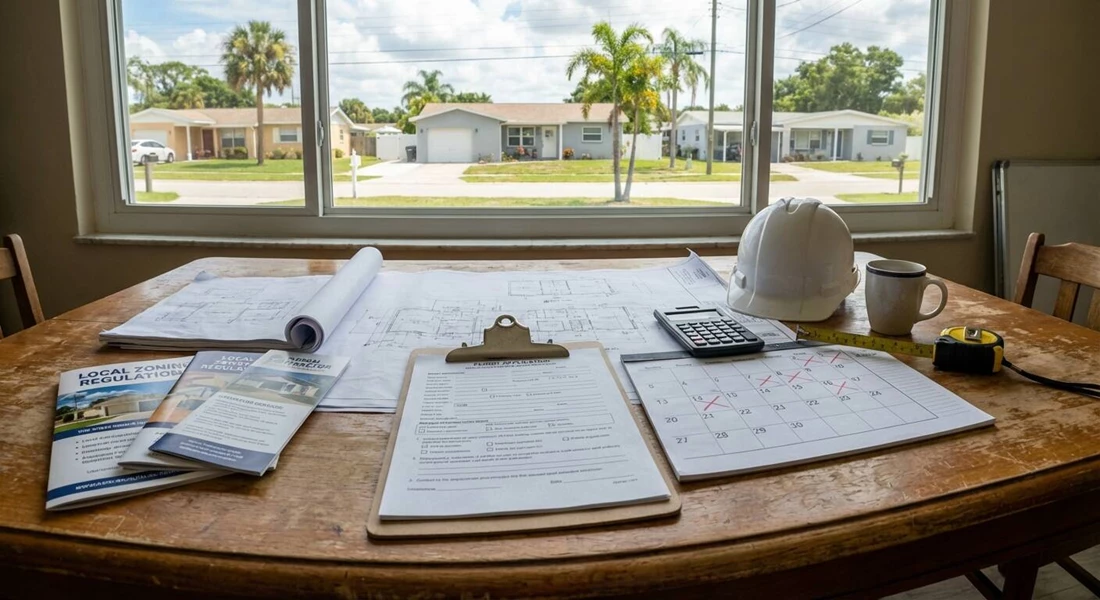
HOW TO USE A BUILDER'S LEVEL AND WHY!
The BUILDER'S LEVEL and TRANSIT are tools that have been in existence for a long time. The main difference in the two is a LEVEL provides a method of finding a transferrable point of height [ELEVATION] and transferring that point to other locations horizontally [every point you shoot will be at the same height]; a TRANSIT allows for this same horizontal duplication PLUS allows ANGULAR divergence both horizontally and vertically. The TRANSIT is a much more sophisticated tool, but most of the routine use of either is to shoot elevations and transfer the points horizontally.
In decades past, these tools were manually leveled by way of adjustment knobs and a bubble. They also required two people - one to look through the instrument and another to use the "story pole" and mark out the required heights as called out by the person looking through the instrument. Currently, most of the tools are SELF LEVELING [once you get reasonably close] and project a laser beam, which can be visually or audibly detected, making this is now a one-man job!
Most construction projects require height elevations that must be "largely accurate!" There are two main aspects of elevations that deserve a specific definition.
The TRUE HEIGHT of your intended construction as compared to everything existing. Most properties have a survey that references an ABSOLUTE ELEVATION from a predetermined point called a "benchmark," and that predetermined point is given an exact height based on a nationally recognized system of heights/elevations. Currently, NAVD is the accepted and required referrence. [The North American Vertical Datum of 1988 ( NAVD 88 ) is the vertical datum for orthometric heights established for vertical control surveying in the United States of America based upon the General Adjustment of the North American Datum of 1988. NAVD 88 was established in 1991 by the minimum-constraint adjustment of geodetic leveling observations in Canada, the United States, and Mexico].
In the past we used a system called NGVD and there is an adjustment to convert from one to the other, but the adjustment is NOT uniform. As I remember it, in Florida the adjustment was about 10" [overnight everything was magically 10" LOWER than it was the day before]. Both systems referrenced "sea level" but the sea level was different in various areas for various reasons and there was erosion, subsidence, plate movement due to earthquakes, etc. The change from NGVD to NAVD was an attempt to correct the inaccuracies using better technology and NAVD is the required reference point.
OK - I mentioned two issues - once we have the benchmark we need to know what height our structure is meant to be RELATIVE TO THE BENCHMARK. A transit or level is used to transfer the benchmark to our structure. Once we have that height transferred, we want to make whatever adjustment is required to locate what on the engineered plans is referred to as "0.0." Everything we build will be based on this 0.0' elevation, which is often but NOT NECESSARILLY the top of the first floor. Example: if the 1st floor walls are 10' high and the slab height is called out as 0.0', the top of the wall will be at elevation 10' - if 0.0' equaled 17'-4 1/2", the actual height of the top of the wall will be 27'-4 1/2." There often are MANY different heights called out on a project and they ALL have a reference to 0.0' which has a reference to the benchmark!
YES, it is complicated and YES, it really is that important! If an error is made bringing in the benchmark the entire project will be wrong, sometimes with horrible consequences!
Let's work on the exterior grade of the site - If you set your laser level to a height of 48" at the 0.0' point and you want a 6" drop immediately adjacent to the structure, you want the tape to read 48"+6" = 54" from the projected laser. If you want a 2" pitch away in 12 feet (a pretty standard grade) you find a point of 12 feet from the building and the tape should read 48"+6"+2" = 56" from the projected laser. This means you stepped down from the slab @ 0.0' to - 6" immediately adjacent and then moving 12 feet farther out you dropped to - 8". This can be and often is done 25+ times around a site for proper drainage. For a large project, that number might easily exceed 250 elevational shots - thank God for the laser level!
REMEMBER: Once you set your laser level to a fixed point at 0.0,' if the measurement is LESS than the height of the laser, your point is HIGHER than 0.0.' If the measurement is MORE than the height of the laser, your point is LOWER than 0.0'!
‹ Back
Recent Posts
-

-

What Permits Are Needed for Home Additions in Largo?
June 5, 2026
-

-
-

Comments